If you’re anything like me, social isolation has left you with plenty of time and plenty of empty weed jars on hand. In a fit of cabin fever, I set out to see if I could transform my leftover cannabis packaging into bird feeders that would attract the neighborhood chickadees, hummingbirds, and sparrows to my balcony.
Here’s how you can DIY two different kinds of bird feeders—one for hummingbirds and one for songbirds—using your old weed packaging and some simple supplies.
Materials needed to make weed jar bird feeders

(Hannah Staton/Leafly)
Before you begin, collect all the materials you will need into one place and have them on hand.
Materials for a hummingbird feeder:
- At least one glass cannabis jar with lid (I had five jars, so I made five feeders)
- Drill and drill bits
- Goo Gone or white vinegar
- Metal craft wire (I purchased this from Amazon)
- Wirecutters
- A round tube-shaped item that can be used to mold the wire; whatever you use should be slightly less wide than the jars (I used the handle of my garden trowel)
- Bright red spray paint
- Hooks for hanging, if needed
- 1 cup white sugar + 4 cups of water
Materials for a songbird feeder:
- Plastic tubes—I had a few packages of pre-rolled joint cones, and they come in plastic tubes perfect for this project.
- Wooden sticks of some kind, such as pencils or chopsticks—I used small wooden dowels (pictured above), but you can also use popsicle sticks (if so, you will also need an X-Acto knife)
- Drill and drill bits
- Metal craft wire (I purchased this from Amazon), or kitchen/garden twine
- Birdseed
How to make a hummingbird feeder from old weed jars
Step 1: Prepare your jars

(Hannah Staton/Leafly)
Gather your old weed jars and lids and either spray them evenly with Goo Gone or soak them in a vinegar and water solution. Let them sit for approximately 20 minutes to allow the labels to soften up, then scrape off the paper from the outside of the jars.
Wash the jars and lids thoroughly, rinsing away any residual Goo Gone/vinegar solution as well as leftover weed crumbs. (We’re not in the business of feeding birds crumbs of weed!)
Step 2: Drill holes for hummingbird beaks

(Hannah Staton/Leafly)
Take the lids off the jars and set the jars aside. On a work surface of some kind, use a drill bit approximately the diameter of a pencil to drill a handful of holes into each lid.
I like to model a “button” configuration, with one central hole and four additional surrounding it, but placement can be up to you. Use as little pressure as possible with the drill to avoid cracking the plastic of the lids.
Shop highly rated dispensaries near you
Showing you dispensaries nearOnce finished drilling the holes, remove or blow away any remaining plastic bits for the safety of the birds.
Tip: After you drill each hole, wiggle the drill bit as you remove it in order to easily detach any plastic shavings still attached to the hole.
Step 3: Paint the lids red to attract the hummingbirds

(Hannah Staton/Leafly)
Get your red spray paint and place the jar lids on a piece of cardboard or newspaper in an outdoor or well-ventilated space. Spray paint the lids red.
My lids required two coats, about 30 minutes apart, and took about 90 minutes total to dry completely. The lids must be red in order to attract hummingbirds, who see the color as a signal of a rich source of nectar.
Step 4: Make hummingbird food
While the lids are drying, get a head start on the hummingbird nectar. Bring four cups of water to a boil, then stir in one cup of white sugar until dissolved. Turn off the burner and leave your hummingbird food on the counter or in the refrigerator to cool while you finish the project.
Step 5: Mold the wire and prepare the feeders to hang

(Hannah Staton/Leafly)
As your lids continue to dry and hummingbird food cools, collect your jars, craft wire, wirecutters, and tubular object for shaping the wire (my object was the handle of a trowel).
Wrap one end of the wire around the tubular object twice to form two tight coils, making them the same size or smaller than the base of your jar. Slide the two coils off of the mold. These will act as the “base” to the hummingbird feeder, holding it upright and in position.
Step 6: Wrap the wire around the jars and hang

(Hannah Staton/Leafly)
The two coils you just created will act as the base to the hummingbird feeder, holding it in place and upright. Set your jar on top of these two coils. In a similar fashion to shaping the base, now take the wire and wrap it around the jar 2-3 times, spreading out the wire enough to provide strong support and coverage.
After you’ve wrapped the jar, roll out enough wire to help you hang the feeder. Most people will form a simple loop for hanging on a hook, but because I’m hanging my feeders from a wide balcony railing, I left enough wire to wrap directly around the railing.
Once you’ve evaluated how much extra wire would be helpful, cut the wire with your wire cutters. Lift up your jar: it should now be held solidly within the wire base at an upright angle and ready for you to hang.
Step 7: Fill hummingbird feeder with nectar and re-attach the lid

(Hannah Staton/Leafly)
Carefully pour the sugar water concoction into the jar. Screw the now-bright-red lid back on and voilà: You now have a hummingbird feeder! Within a few days, hummingbirds should detect the treat and start to visit.
Remember to change the nectar in the feeders every 3-5 days as it spoils and grows bacteria quickly. Fresh nectar will help you continue to attract birds, and the more feeders you create, the more birds will come visit.
How to make songbird feeders from rolling paper packaging
I used glass jars for the hummingbird feeders, but for songbird feeders that contain birdseed, the plastic tubes that contain rolling papers are perfect for “upcycling.”
Step 1: Prepare your containers

(Hannah Staton/Leafly)
Pictured above are the three tubes I used. The removable lid at the top makes refilling birdseed easy. Fortunately, these kinds of tubes usually come with paper inserts versus stickers and labels, so all these required to become bird-ready was a simple rinse to ensure they were clean.
Step 2: Drill the holes needed for bird perches and hanging

(Hannah Staton/Leafly)
These two holes near the bottom of the container will hold sticks for bird perches.
Using the same pencil-sized drill bit as you used on the hummingbird feeders, carefully drill two holes near the base of the plastic tube so that they are across from one another.
Note: If you are using popsicle sticks as bird perches, don’t drill holes at the bottom. Instead, use an X-acto knife to cut two slits that the sticks can slide through.
Similarly, drill two holes near the top of the plastic tube for hanging.
Tip: When drilling holes near the top, keep the lid on the container to provide extra support to the thin plastic as you drill, to reduce the risk of cracking.
You’ll use the holes near the bottom to hold wooden perches for the birds, and the holes near the top will be threaded with wire or string to hang the feeders once complete.
Step 3: Drill holes for birds to peck

(Hannah Staton/Leafly)
Switch to a thin, narrow drill bit to place a scattering of small holes in the tube for the birds to peck and access the seeds within. Because this is a gravity-fed feeder, you don’t want the holes to be large enough for seed to freely flow out of the container (think the tip of a pencil versus pencil size).
I recommend putting a few of these holes above the larger holes at the bottom, so when birds perch on the sticks, the places for them to peck and access seeds are easy for them to discover. 6-10 holes around the feeder should be sufficient.
Step 4: Add sticks for bird perches

(Hannah Staton/Leafly)
Once your containers are drilled with the two different size holes, put one of the wooden sticks (pencils, chopsticks, etc.) through the bottom two holes so they are sturdy and stick out long enough for a bird to land on.
One long stick, like a chopstick, is easy to place because you can stick it through both bottom holes at once. I used a small amount of hot glue to provide extra security, but you may find this unnecessary.
Step 5: Prepare songbird feeder for hanging and fill with birdseed

(Hannah Staton/Leafly)
Once you have your containers with perches sticking out of them, take your wire or string and thread it through the top two holes, tying together at the top so you can hang them from a hook or nail.
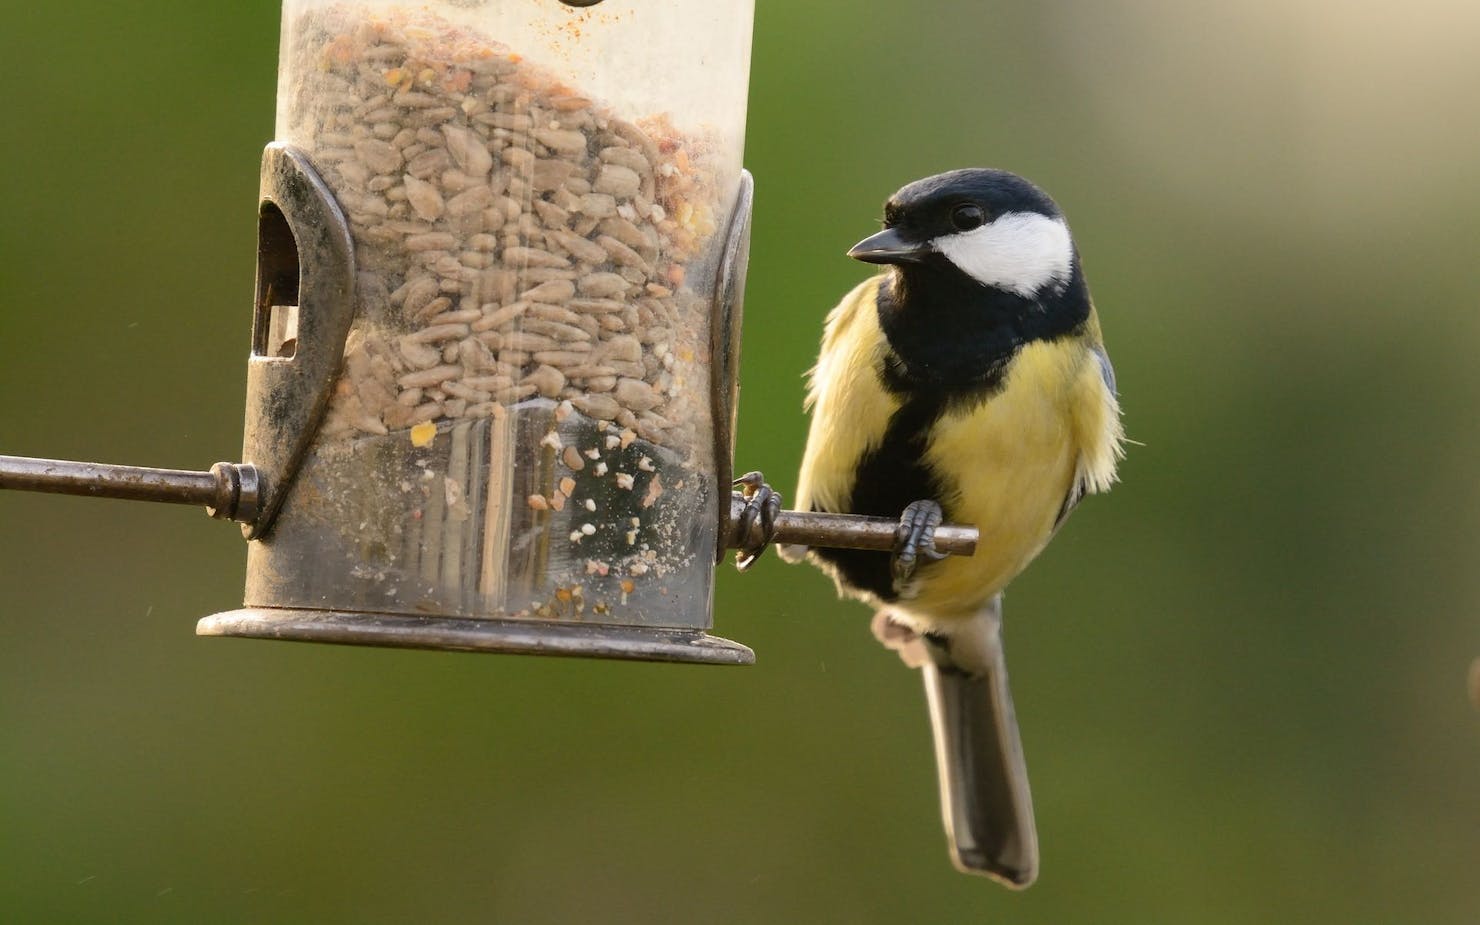
Then, fill the container with birdseed so that it covers the string inside, and replace the cap. Your brand new songbird feeders are now complete and ready to hang!
Everything gets more engrossing when you’re a bit stoned, and DIY bird feeders are no exception. Now that you have created two different kinds of bird feeders, sit back, smoke a bowl, and get your Audubon Society on. Enjoy!


